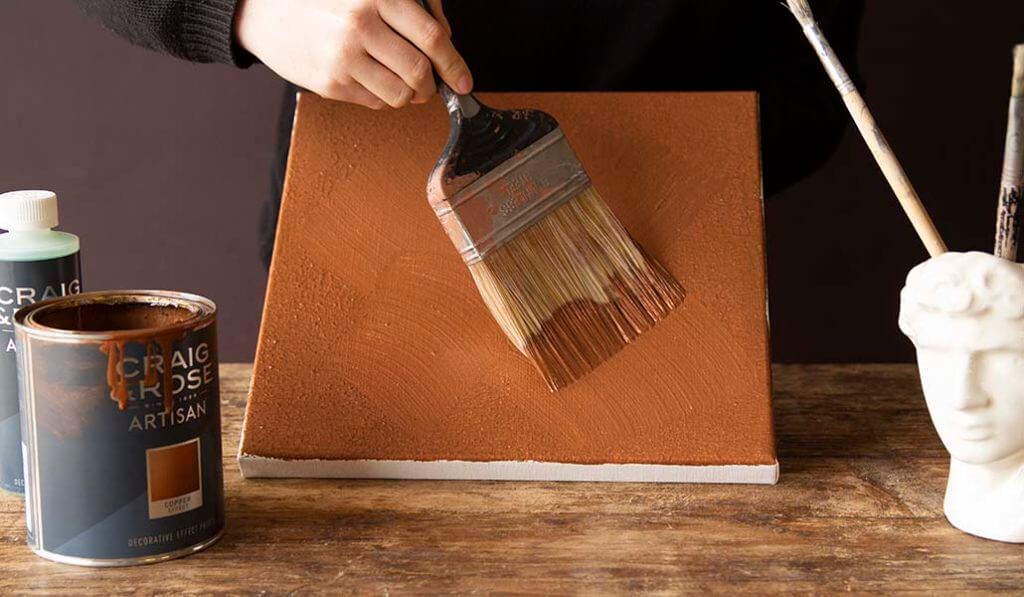
Our Copper Patina Effect Wall Paint has become an Instagram sensation!
Part of the Rockett St George Paint Collection, this stunning paint effect by Craig & Rose will stop you in your tracks.
So many of you have been sharing your incredible painted walls with us and one that really stood out was the home of the fabulous Nicola Jane Designer (@nicolajanedesigner). Looking like a magical night sky, we love the effect that it has on her walls, transforming this little nook under her stairs into something unexpectedly beautiful.

Magical Copper Patina Paint By @nicolajanedesigner
So incredibly beautiful, we contacted Nicola to ask for her step-by-step guide on how to create a Copper Patina Effect on your walls.
PREPARATION
Before you get straight down to it, there are a few essential items that you will need:
Craig & Rose Artisan Copper Effect Paint
Craig & Rose Artisan Copper Patina Solution
Dust sheets to cover any furniture or carpet that you cannot remove from the room during the painting process.
1 x Large Paintbrush
1 x Small paint brush
1 x Sea sponge
1 x Bucket
1 x Mask
1 x Goggles
1 x Roll of Masking tape
1 x Roller and Tray
METHOD
Step 1. Scrub clean the wall or surface that you wish to create the copper patina effect on using sugar soap.
Step 2. Mask off any areas you do not want the paint effect to go on. Use dust sheets and move any furniture safely out of the way ... things could get messy!
Step 3. Before you open the paint be sure that the room is well ventilated and has plenty of fresh air running through it.
Step 4. Open the Craig & Rose Artisan Copper Effect Paint. Stir really thoroughly as the Copper segment will be on the bottom.
Step 5. Apply the first coat a paint roller so that you get a good and even coverage. Allow time to dry.

Make sure the whole surface is covered before moving on to the next step.
Step 6. Next, apply a second coat using a paintbrush in sweeping movements. You can also use a sea sponge (available from most DIY shops) to add texture to the paint.
Allow to dry for a minimum of 2 hours, but no longer than 12 hours.
Step 7. Pour the Copper Patina Solution in a bucket. But, be sure to wear gloves!
Step 8. Wearing gloves, apply the patina using the sponge. Apply in small areas and be sure not to cover the whole wall - you want the copper paint on most of the walls with patina detailing.
Please note, that when you are applying the Patina solution it will look clear at first. The patina effect happens over time.
So, leave it to dry and the copper patina effect will start to appear over the next few days and weeks.
And, that's it! A fantastic Copper Patina Effect Painted Wall!

Ta Daa!
A super special thank you to the fabulous @nicolajanedesigner for her expert tips!

Click Here To Shop Copper Patina Paint At Rockett St George. Image Credit: @nicolajanedesigner | Craig & Rose | Rockett St George

Click here to shop the Artisan Rust Effect Paint. Image Credit: Craig & Rose and Samantha Lloyd Joice.


