Vinyl Floor Runners & Splashbacks Ideas
Beautify your home... In an instant!
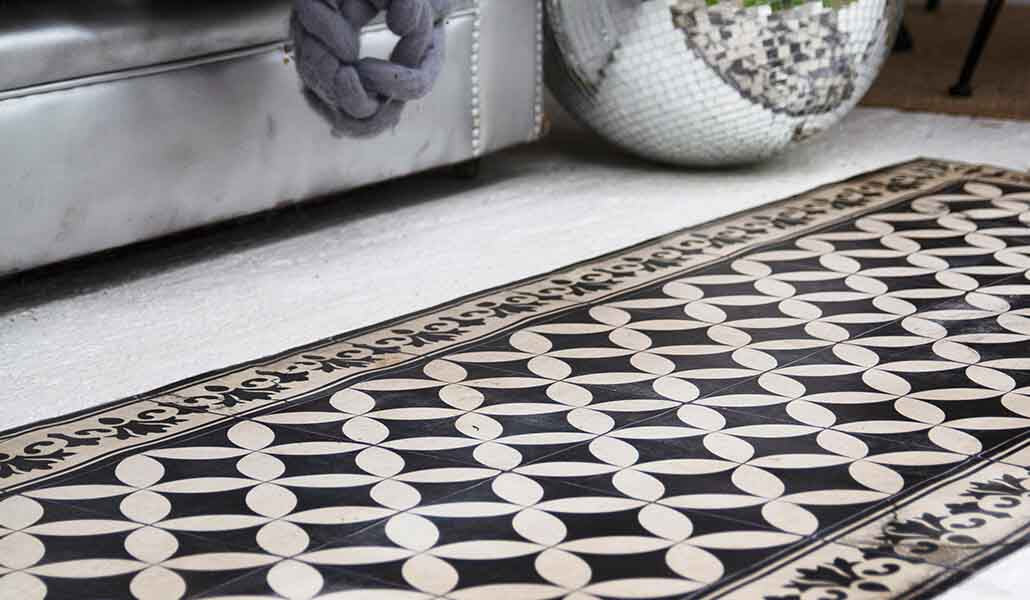
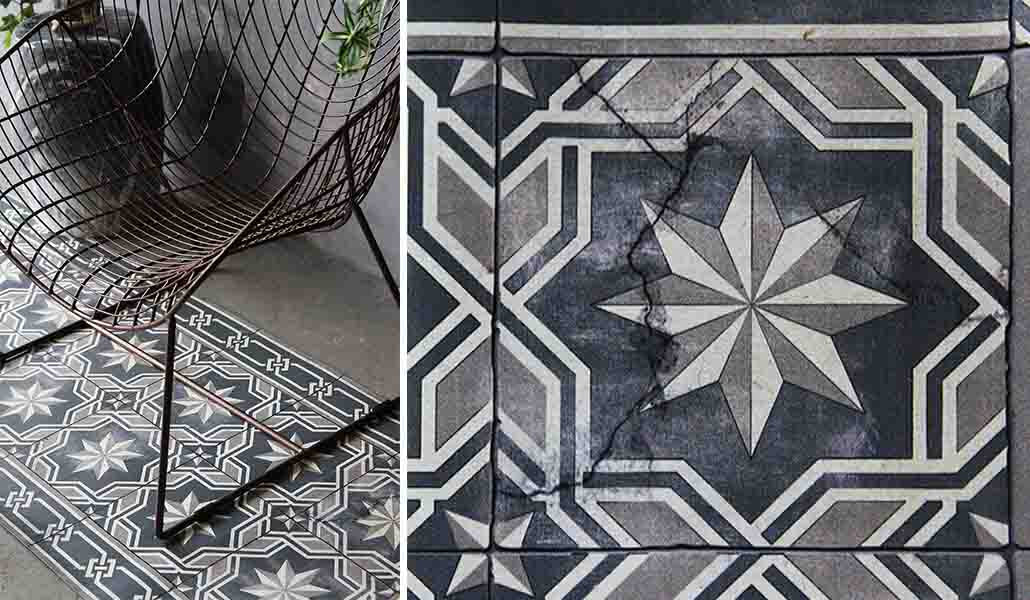
We are huge fans of quick and easy solutions that bring our interiors bang-up-to-date without lots of fuss and upheaval. So we were delighted to discover Beija Flor who create fabulous vinyl floor runners and splashbacks featuring incredibly realistic vintage style tile designs. Easy to install, these gorgeous vinyl runners and splashback sticker rolls will transform any space and would look great in a kitchen, bathroom or hallway.
To keep your Vinyl Floor Runner or Splashback Sticker Roll in tip-top condition, we have put together a quick care guide for you.
Scroll down for our tips and tricks...
Vinyl Floor Runners
First steps
To make postage a little easier, each mat arrives as a roll. A bit like you would with an art print, unroll the mat and lay flat for a few hours before applying to the floor. If the mat fails to flatten, simply reverse-roll the mat and lay it on the floor with some gentle weighting, such as books. Top tip: Warmth will do the trick! Lay the mat within a safe distance of a mild heat source until it softens a little. This will help flatten out any bumps.
Cleaning Your Vinyl Floor Runner:
- Wash the mat with soap and water and leave to dry before placing it back on the floor.
- All floor cleaning liquids should be okay, but we always advise patch-testing on a small area first.
- Do not use acid bleach or chlorine.
- Make sure both the mat and the floor are dry and then place the mat on the floor.
Special care:
- To avoid damaging your vinyl floor runner, do not drag heavy furniture across the mat.
- Never fold your mat! If transported or stored – either lay it flat or roll it up.
- Your Vinyl Floor Runner is for indoor use only. They can be used on a shaded patio or balcony, but we advise this is brought inside while not in use.
- Take care of slippery surfaces! Do not place the mat in wet environments as the runners become very slippery once water gathers on the upper surface.

Click To Shop The Beija Vinyl Floor Runner Antique Geometric | Rockett St George
Deco Sticker Rolls

Vinyl Splashback Roll Sofi Antique
Instructions
- Make sure the desired surface is clean, dry and preferably smooth
- Gently peel back a bit of the paperback from one of the 4 sides
- Carefully begin to stick the side facing the surface
- Use a dry cloth or a squeegee to gently rub the sticker on to the surface smoothing it out and pushing out air bubbles as you gradually continue to apply the sticker in its entirety.
General
- If necessary, the stickers can be removed from most hard surfaces with no damage or residue, other than when applied directly on a painted wall, in which case some peeling and slight damage may occur.
- In case applied inaccurately, the sticker can be removed and re-applied if done instantly.
- Do not place directly on and/or next to a fire, fireplace or stove


